
Tutorial Menu: Re-capitation
Article by Laura Skillern, Don't Eat The Paint
Recapitation...
If Google search says it’s a real word, than it must be so.
Since I waxed on about it last week, I figured I’d put my Apoxie where my mouth is and resculpt a Roxy this week. But not literally because Apoxie is kinda gross tasting. Just because it’s safe to eat this stuff doesn’t mean I actually want to.
I’ve done similar Roxy customs in the past, so I have a fair idea of what it should look like. However, I have a bad habit I fall into occasionally of sculpting from memory without a photo reference. The final product might be passable, but I don’t learn anything or improve my work by just regurgitating the information that’s already in my head.
Speaking of references, let’s take a peek under the skin. But in a tastefully illustrated way--not a photos of dissection kinda way.
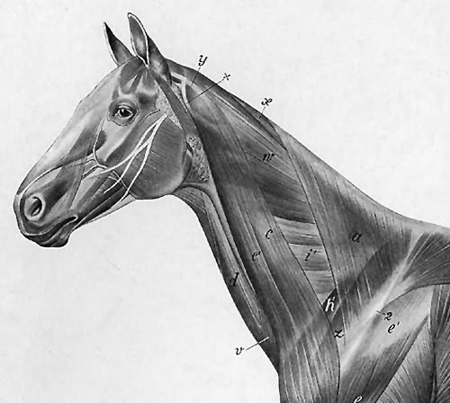
All these muscle groups have big science-y names, but I can't remember them off the top of my head. I don't expect y'all to memorize them either.
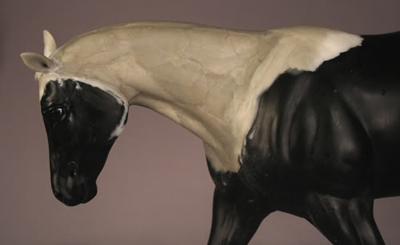
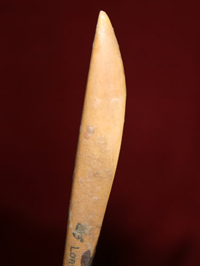
I’m starting with a Roxy who’s head has already been positioned and the frame built to support the neck:

I’m going for a western head-set here, without getting peanut rolling ridiculous.
Ya know when you google for “Peanut Roller” one of the first things that comes up is Braymere’s performance rat?
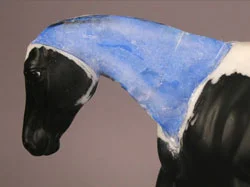
I find it easiest to start from the bottom of the neck and work my way up. I also sculpt one side at a time.
I tend to take a lot of time to sculpt a neck. I fuss with it for so long that it’s crucial to start with super soft clay and extend working time. I try to start with the freshest clay I have because Apoxie has a shelf life. The “colored” part (not the clearish grey part--I don’t remember if it’s A or B) will dry out over time. Especially if you leave it sitting out, minus a lid. It’s still sorta useable, but it won’t blend as well as fresh clay.
If you’re a slob--like me--and you regularly leave the lids off your Apoxie, you can always dig into the core of the clay. The surface may be dry, but there's usually still a soft underbelly.
After digging out soft clay, I mix parts A and B with a generous does of water or rubbing alcohol. I’m aiming for a soft texture without turning the clay into paste. For a traditional model, I mix clay into a ball roughly the size of a lottery bonus ball.
With part of my now mixed clay, I form a slug about the length of my Roxy’s neck and ¾ inch wide. I’ve previously mentioned that I have enough of a slug phobia that I get creeped out by photos of slugs. So here is a doodle of a slug I drew while pretending the work:


Next, I take a small spot of clay and form the tendon-y bits right behind the jaw. I finesse the clay a bit and start to blend it together.
I make more short slugs and fill in the major muscle groups of the neck.


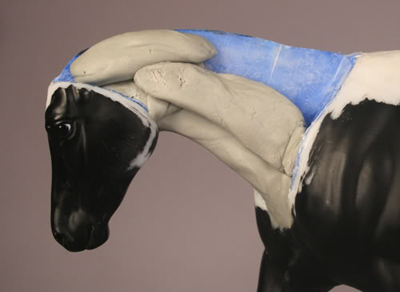

The nice thing about Apoxie is these rough blobs of clay will hold their general shape even as I smooth out the areas in between. The other side of that double edged sword is its challenging to blend these large blobs together. To blend, I rely larger on filling in the gaps with soft, moist bits of Apoxie.
I dip back into my rubbing alcohol or water (I rarely care which--whatever is handy) and I blend the clay together using just my chubby little digits.

This step takes the longest. I continue to work from the transition areas both with my fingers and my handy tool.
I blend until I'm reasonably satisfied, then I go back again with my tool to sharpen any edges or add detail if I need to.

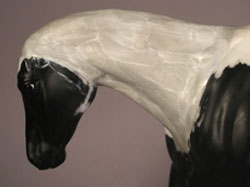
Next, I switch to the other side and just rinse and repeat. With most necks, I expect I'll need to spend extra time sanding this area when it's dry and filling in any remaining small divots.