Tutorial Menu: Sculpting Manes
Article by Laura Skillern, Don't Eat The Paint
Like tails, I’m breaking the topic of manes up into several different posts. I can’t guarantee I’ll post them all back to back, so I broke the subject down by types. During the series, I’m planning to cover:
· Groomed, loose manes
· Bridle paths
· Forelocks
· “Farrah” manes (manes on moving horses)
· Messy manes (mustangs)
· Banded manes
· Braided manes (continental, hunter, dressage, etc.)
· Breed appropriateness (fluffy manes vs. pulled manes vs. Arabian manes)
I know I’m so not getting through all of that in a week or two.
Today, I’m covering loose, medium length groomed manes. Unless you choose to specialize in a particular breed or style, this is the technique I expect you will use the most.
If you got through my previous tutorial on tails, this one should be a breeze. I saw a lot of my readers have great success with the tail technique and I’ve enjoyed seeing y’all making such pretty tails.
This week I want to focus in more detail on technique instead of construction. In my opinion, my success with such a simple mane all comes down to technique as I can’t hide problems in a complex design. To create a super realistic mane, there is not a lot of space to be creative. I can ruffle and mess-up the mane to add interest, maybe even toss in a touch of wind-blown-ness. However, if your goal is to create a nicely groomed model that looks like he should be standing in a show ring, I think you’re better off keeping the shape as clean looking as possible.
For this tutorial, I added a longer mane to my long suffering Terrang. He may be the crash test dummy of model horses, but that doesn’t mean I can’t look pretty.

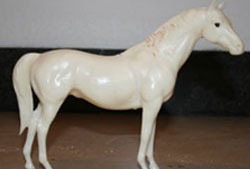
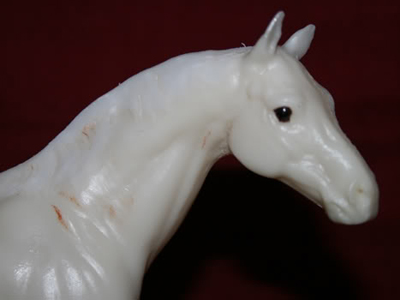
I started with a model with a short and easy to remove mane, so all I needed to do was dremel the existing mane off. Since I’m adding enough mane to cover up this portion, I don’t worry too much about what it looks like at the moment. My primary concerns are 1) make enough space for the new mane and 2) don’t grind a hole into the plastic. I finish with a light sanding.
I shy away from the noodle method when I sculpt a mane like this. On a mane, noodles are great to build a thick and tussled mane…which is exactly not what I want. Instead, I spread the clay out in the general shape and size of the mane. I start with a slug-like shape. I originally intended to post a picture of a slug here, but I am so phobic that I got creeped out just looking at pictures of real slugs.
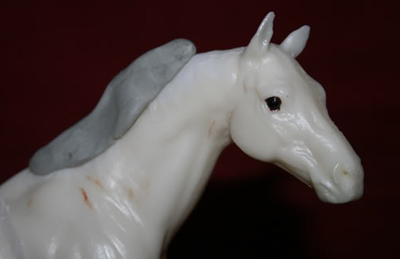
I press the clay, pushing it down the neck.
Continuing to flatten out the clay until I'm happy with the general shape and depth.
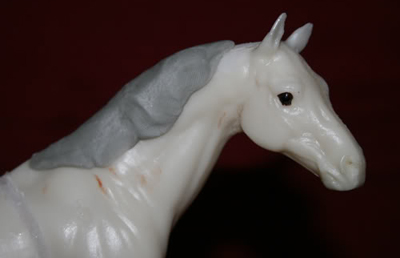

I make it a little thinner or thicker depending on the breed. I'm careful to smooth out the clay at the top of the mane, blending it into the existing neck. The smoother the clay is now, the easier your life will be later when you go back to prep.
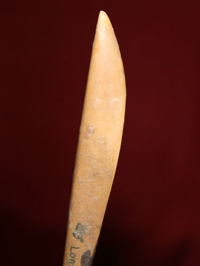
And then I turn my trusty wedge tool. I will never buy another tool, but I may buy more copies of this tool.
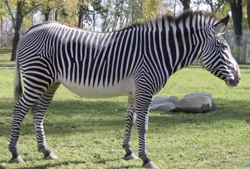
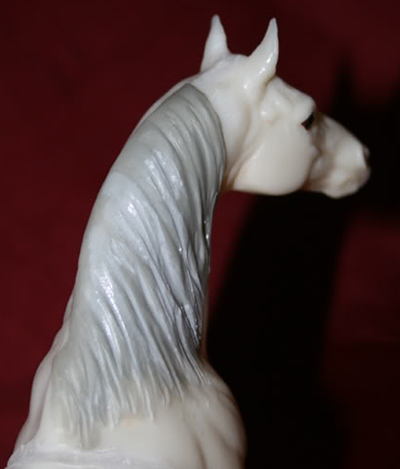
I start by pressing in the deepest grooves first. They need to be at regular intervals, but not too regular. Think of stripes on a zebra.
When I’m happy with the deep grooves, I go back and add light grooves in between. I'm not longer focused on creating a larger shape for the mane, but I want to add texture at this point. I pay particular attention to the edges of the mane. Do I want a distinct edge or a blended one? When I sculpt for other painters, I often ask what they prefer and what they find easiest to paint.

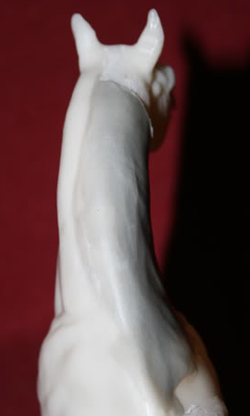
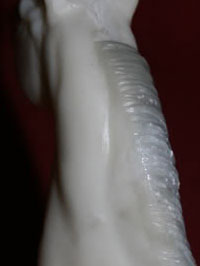
I also lightly roll me wedge over the top of the neck.
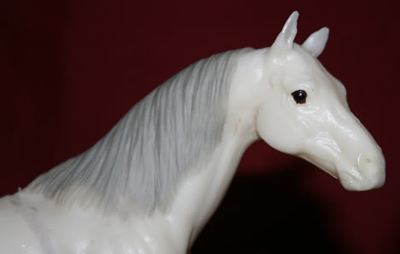
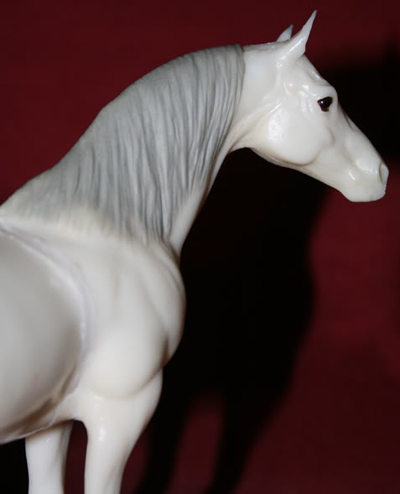
I finish with my soft brush (dipped in water or rubbing alcohol) to just take off the hard edges or dramatically smooth out the shape.
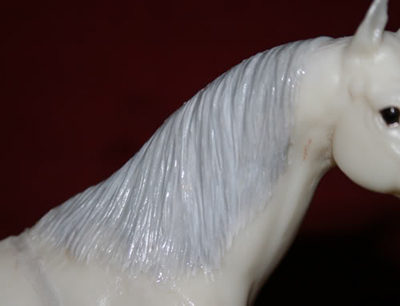
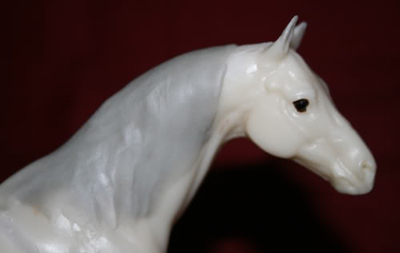
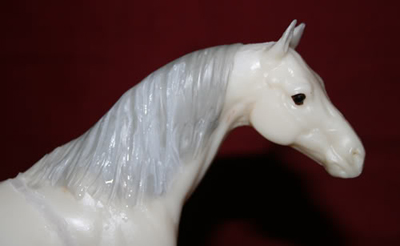
Above, I just cleaned up the clay, brushed away the little clay crumbles, and rounded off the edges. However, because this model was originally a Maureen Love sculpture, I try to keep her style in mind. Most of her manes and tails were very smooth, so I went over my new mane a few more times so my addition would harmonize with the original piece.
When I let my mane dry completely, it looks like this: